Dune Restoration

How to Build a Sand Dune Fence: A Step-by-Step Guide for UK Coasts
A sand dune fence is one of the quietest, cheapest pieces of coastal conservation you can build. A run of slatted fencing set just seaward of the surviving dune edge slows the onshore wind enough that it drops its load of sand, and that sand — given a steady supply from the beach — begins to rebuild the foredune behind it. Done well, you end up with a self-repairing ridge of marram and sand. Done badly, you end up with splintered timber, an access problem and a row of holes in a protected habitat.
The difference is almost entirely in the planning. Here is how to approach it on a UK coast, from consents through to the first winter of maintenance.
What a dune fence can and cannot do
Fencing traps sand; it does not stop erosion. If the beach in front of your site is losing material faster than the sea delivers it, a fence will simply be undermined or buried by the next big tide. Walk the beach at low water first and look for a working sand supply: dry, loose sand moving up the beach on a strong onshore wind is the signal you want.
Fences suit dune fronts that have been trampled, scalped by feet or vehicles, or where vegetation has died back and blowouts are forming. They are a poor choice on a vertical, actively eroding dune face, on shingle, and anywhere the beach is too narrow to dry out. The best candidates are gentle, sandy slopes with a bit of marram already hanging on.
Consents, timing and who to talk to
Most of the UK's dune systems sit inside a Site of Special Scientific Interest, a Special Area of Conservation, a National Nature Reserve or some combination of the three. Fencing, planting and even repeated footfall can count as damaging operations. Before you buy a single post, speak to the landowner (often the local council, the Crown Estate, the National Trust or a private estate), the relevant conservation regulator for your nation, and your local planning authority if the structure may need permission.
Then think about wildlife. Dunes are nesting habitat for ringed plover, little tern, skylark and others, and the open sand is used by sand lizards, natterjack toads and a suite of invertebrates. The practical rule is to work between late September and the end of February, well outside the bird breeding season, and to stop immediately if you disturb anything significant.
If you are in any doubt about consents, protected species or coastal defence rules, take advice from the relevant statutory body before starting work. Volunteer sessions run by local coastcare groups, Wildlife Trusts and dune partnerships are a good way to learn the local picture.
Choosing the line
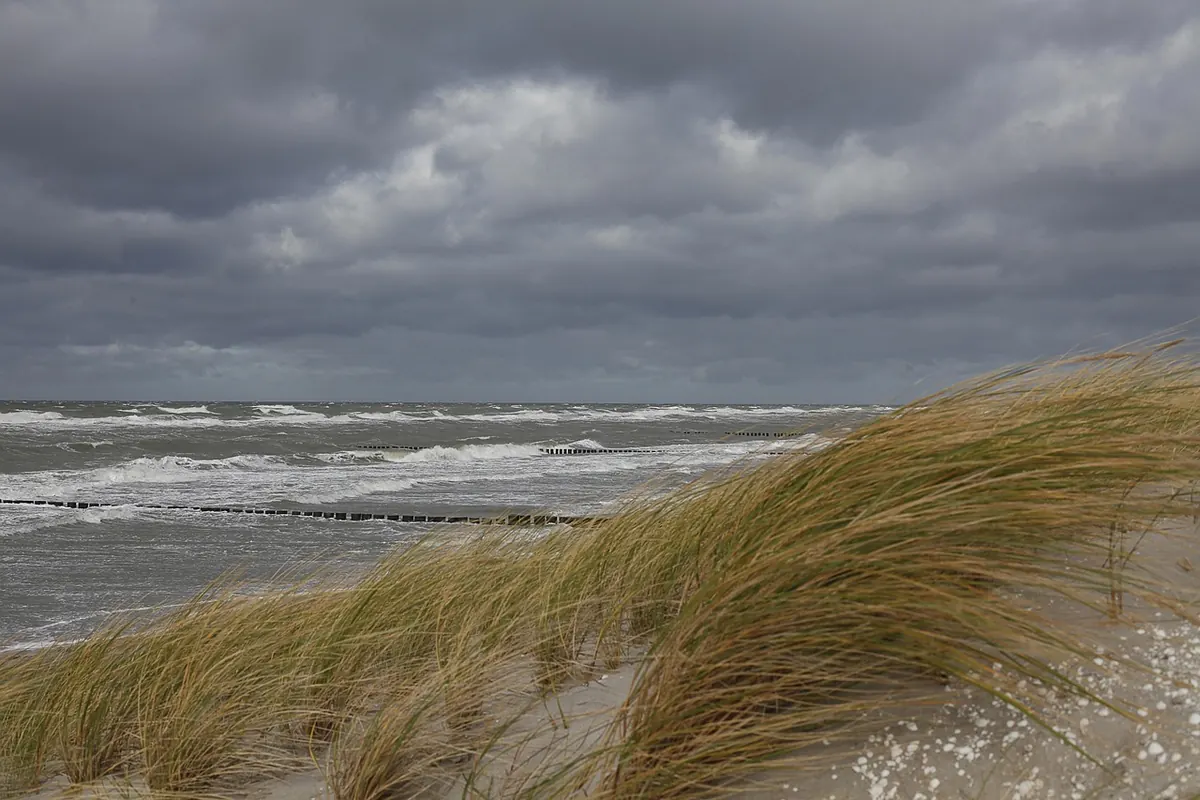
The fence should run roughly along the shore, facing the prevailing onshore wind, not straight up the beach. Set it at the seaward edge of surviving vegetation, or a few metres seaward of a healthy dune edge, and follow the natural contour of the beach rather than a tidy straight line.
- Two or three short rows, spaced three to five metres apart, outperform one long fence.
- Leave deliberate gaps every twenty or thirty metres so people can walk through rather than over the fence. A continuous barrier invites scrambling, which creates the blowouts you are trying to heal.
- Keep clear of footpaths, car parks, historic features, buried archaeology and scheduled monuments.
- Mark each corner with a cane, a GPS point or a named photo on your phone. You will want to find it again next year.
Sourcing materials that will not outlive the dune
Untreated chestnut or larch posts, 1.2 to 1.5 metres long and about five to seven centimetres in diameter, are the standard choice. Avoid timber treated with creosote or similar preservatives, which can leach into a sensitive habitat. For the infill, choose biodegradable options: chestnut paling, woven willow or hazel rods, brushwood bundles, or coir and jute mesh with an open weave. Plastic netting and monofilament are best avoided entirely — they shred, disappear into the sand and entangle wildlife.
You will also want galvanised staples or biodegradable twine, a post driver or heavy mallet, a spade, gloves, secateurs and a tape measure. Buy from a supplier who understands coastal work, and buy local where you can; hauling timber across the country undercuts the point of the exercise.
Installing the fence
- Set out the line. Run a string line between canes and check the height against the beach profile.
- Drive the posts. Space them roughly a metre apart and sink them thirty to forty centimetres into the sand. A post driver disturbs far less than a spade, so use one wherever the ground allows.
- Keep the top level. Aim for a finished height of about ninety centimetres to 1.2 metres above the sand surface, with the slats even along the run.
- Leave the fence permeable. Roughly half-open is the target. Air should pass through and slow, dropping its sand on the landward side; a solid barrier simply deflects the wind and scours around its ends.
- Do not bury the bottom edge. Let the slats meet the sand surface or sit a few centimetres above it so grains can pass through and settle in the lee.
Work in dry, calm conditions if you can, and avoid trampling the very plants you are protecting. Move along the line rather than criss-crossing the dune.
Planting marram and letting the dune do the work
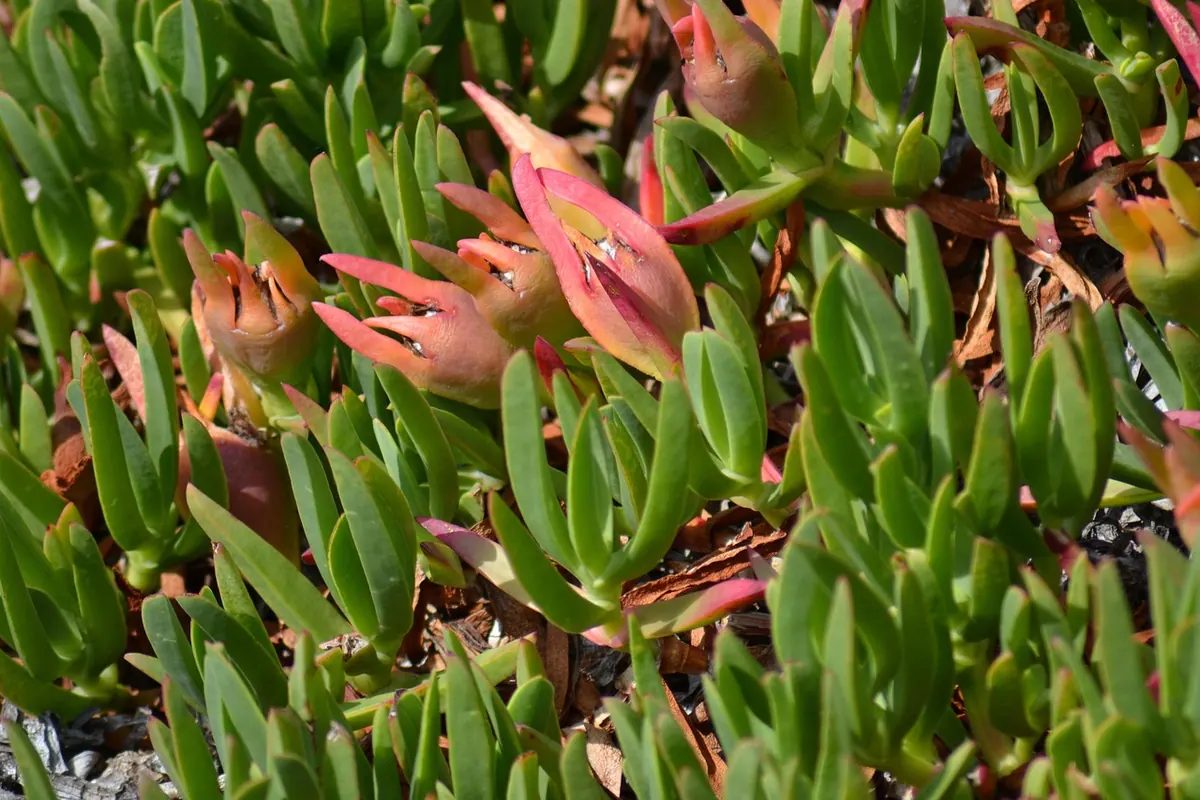
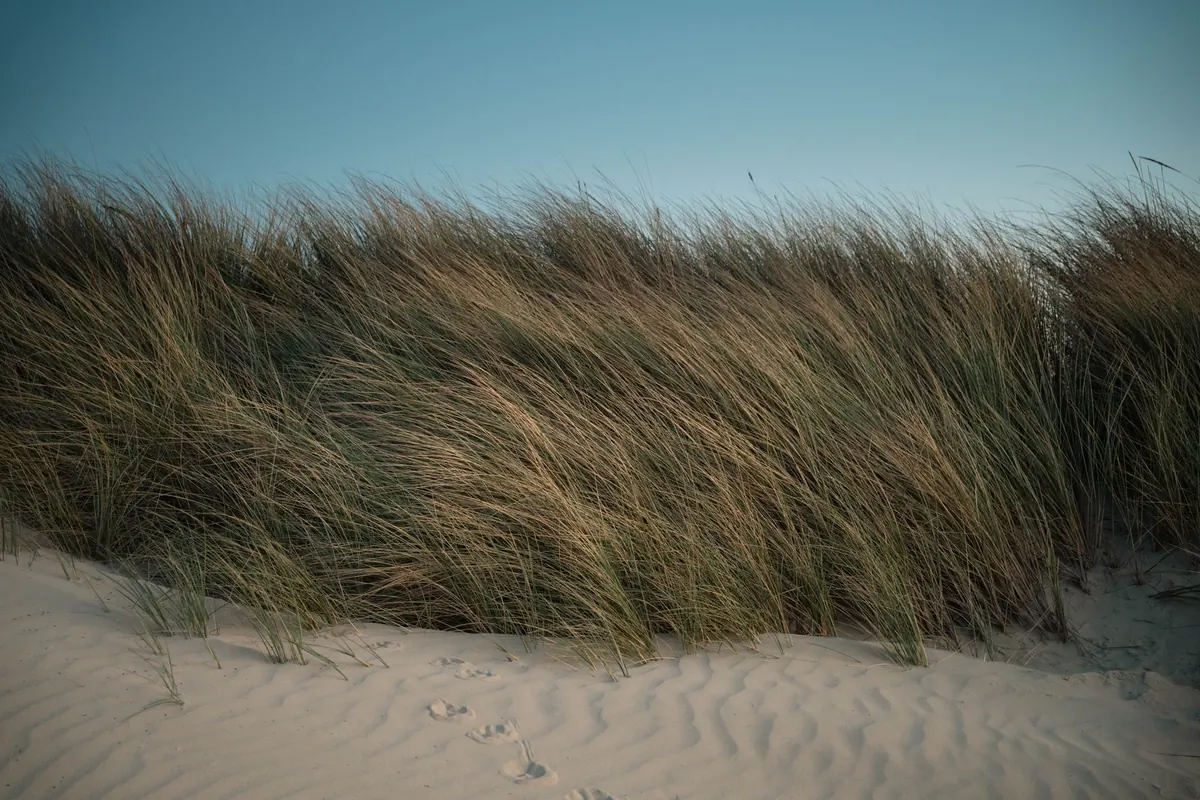
Once sand has begun to gather behind the fence, plant marram grass (Ammophila arenaria) into the new accumulation, keeping plugs half a metre back from the slats and spacing them around thirty to forty-five centimetres apart. Autumn and early spring are the usual planting windows. Sea couch, sand sedge and lyme grass can be mixed in on some sites.
Buy plants of local provenance from a nursery, or take advice from the site manager about collecting within the designated area — wild collection is restricted on most protected dune systems. Resist the temptation to feed or water the plants. Dune species grow best on lean, mobile sand, and nutrients only encourage weeds.
Looking after a dune fence
Check the fence after every significant winter storm. Re-drive loose posts, replace broken slats, re-tie the mesh and clear any litter or fishing debris that has snagged. Photograph the same view from a fixed point each season; a few years of images show far more than a single survey.
When the fence is buried to roughly half its height, it has done its job. Leave it in place to rot down and add a new row three or four metres seaward, planting marram behind that. A working foredune is a moving one, so do not be dismayed if a big tide takes a bite out of your work. Rebuild, replant, and let the next winter's winds do the rest.
Photo: Pexels / Pixabay
Related Articles